Designing your dream home starts way before shopping for furniture or painting the walls. It begins with a mood board, that magical space where you translate your ideas into visuals. It’s where all the creative energy lives.
A mood board helps you gather inspiration, play with colors and textures and see if your vision actually works before diving headfirst into your project. Think of it as a safe space to experiment without wasting money, time or energy on choices you’ll regret.
Whether you’re styling a cozy bedroom nook, planning a kitchen refresh, or decorating your entire apartment like I’m doing, this step-by-step guide will walk you through how to build a cohesive, designer-approved mood board that looks like it came straight out of a studio.
Let’s get into it.
Step 1: Pick a Room (or Space)
First things first, decide what you’re designing. This doesn’t have to be a full room. It can be a reading nook, a gallery wall, or even just a color palette for your whole home. For me, I’m working on a mood board for my entire apartment, but the same concept applies whether you’re working on one tiny corner or a whole vibe.
Knowing the space helps you focus your inspiration and narrow your visuals to what’s actually useful. It’s way easier to create something cohesive when you’ve got a destination in mind.
Step 2: Choose a Style or Color Palette

Now it’s time to pick a direction. Are you into Scandi calm, boho warmth, minimalist chic or maybe a mix of styles? You don’t have to stick to just one; your space, your rules. Feel free to blend two or three styles to create something truly you.
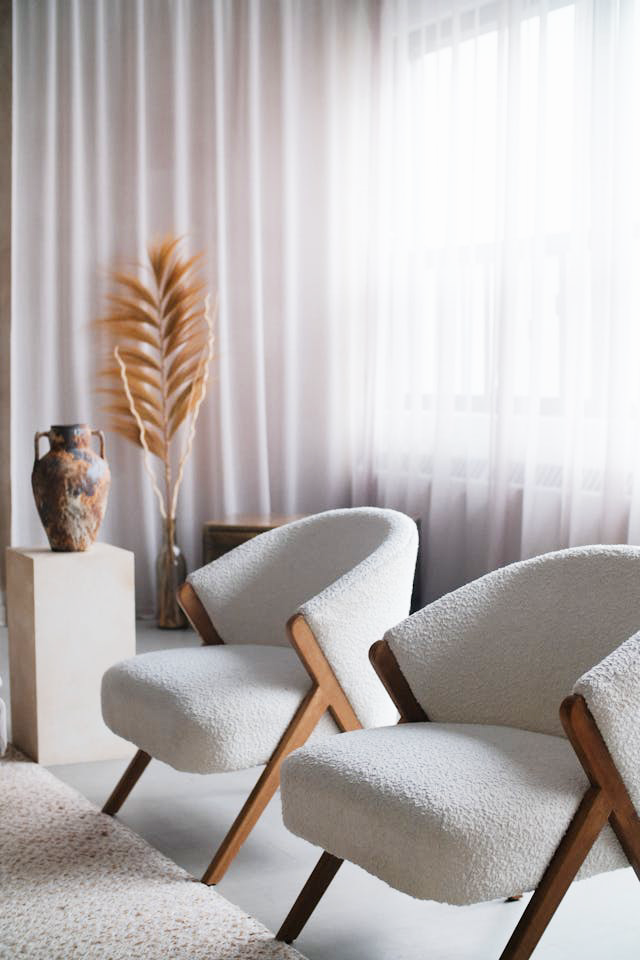
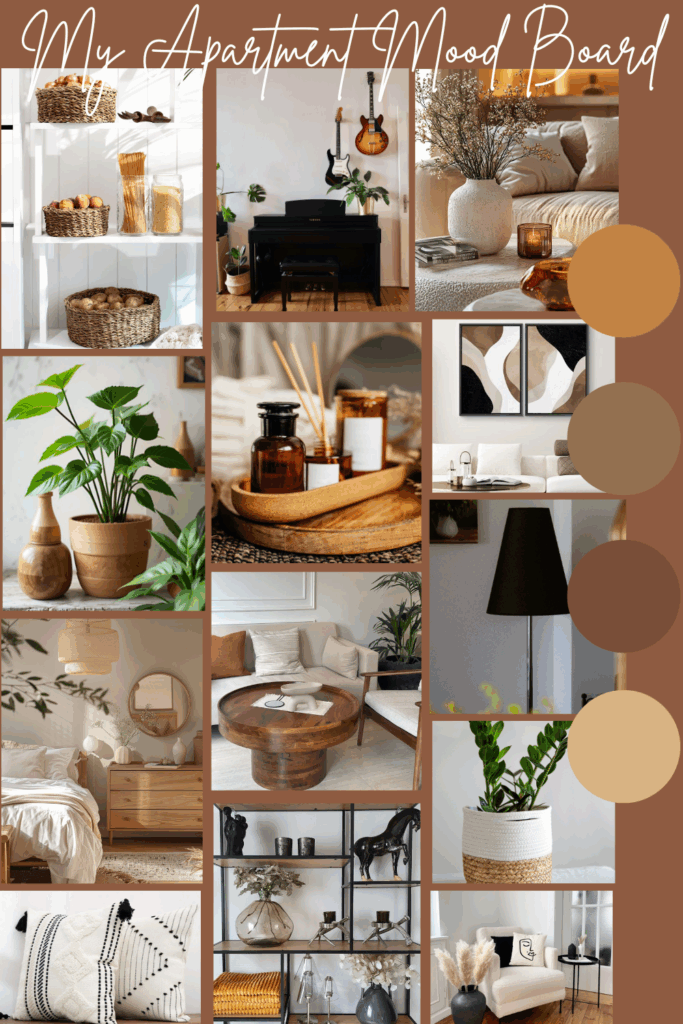
If you’re still figuring out your style (hi, me too), an easy place to start is with color. I picked white, warm brown, and black for accents, these colors felt just right to me. From there, my style naturally started to take shape. I am going for cozy modern vibes.
Quick Tip: If you’re overwhelmed, start by picking 2–3 colors you love and build from there. Colors often reveal the style you’re gravitating toward.
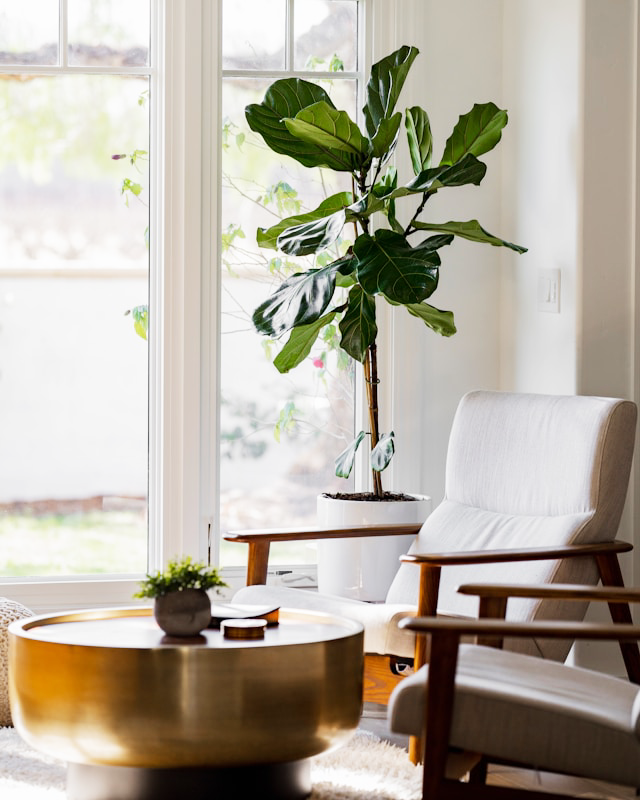
Step 3: Collect Your Inspiration Images
Here’s where it gets fun and a little addictive. You’re going to collect images that reflect your vision.
Start with your go-to image sources. I used:
Stock photo sites like Unsplash and Pexels for clean, curated design shots.
Pinterest, which is basically the home decor version of heaven.
AI-generated images if you want something hyper-specific.
I started by saving any photo that made my heart skip a beat. Don’t overthink it at first; just go for what sparks inspiration. Later, you’ll refine and filter to get a more cohesive look.
Pinterest Tip: Start a secret board and just start pinning. Then step back and study your collection.
Ask yourself:
What colors keep showing up?
Is there a repeated mood or material?
Are there any patterns in layout or lighting?
Let that be your clue. This part helps you clarify what you actually like.
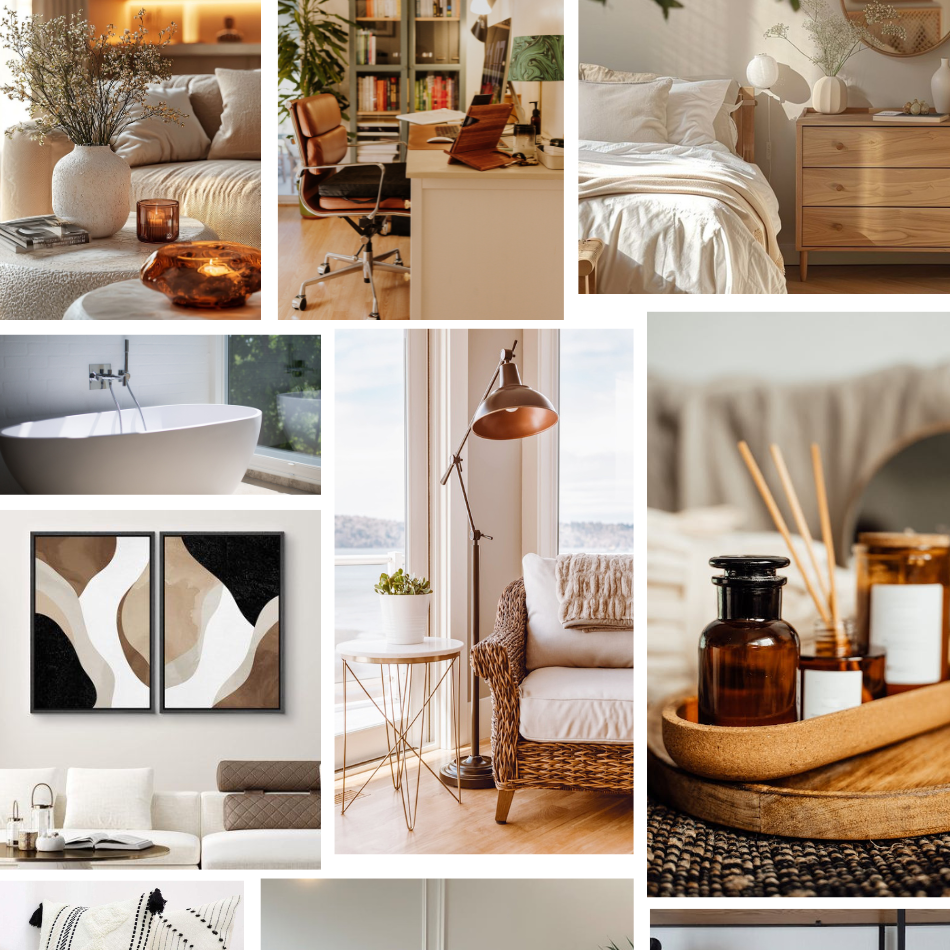
Step 4: Design Your Mood Board
Once you’ve gathered your images, it’s time to lay it all out visually. You can use;
1. Pinterest Boards
Simple and effective. Just pin everything to one board and rearrange as needed. The downside? You can’t easily download or repurpose it for presentations or mood-setting visuals elsewhere.
2. Adobe Photoshop
If you’re a design pro or want full control over every pixel, Photoshop is great. But it can be a lot if you’re not used to it. (I didn’t go this route and honestly, no regrets.)
3. Canva
This is where the magic happened for me. Canva is beginner-friendly and gives you polished, designer-level results without the learning curve.
How to Create a Mood Board in Canva
Option 1: Use a Grid Layout
In Canva, search for “grid” under Elements.
Browse and choose one that suits your vibe—some are minimalist, others more eclectic.
Drag and drop your images in, rearrange them, and play with scale.
This is quick, cute, and super tidy. The only downside is the frame limitations; you can’t add as many images or play with the layout as freely.
Option 2: Use a Blank Canvas (Highly Recommended)
This is the method I used because it gave me complete freedom over layout and spacing.
Here’s how to do it:
Open a blank page in Canva.
Upload all your collected images.
Start by placing a few large anchor images in the corners.
Add smaller images in between, overlapping a bit or leaving white space if you like that clean look.
Mix up the sizes for that curated, designer-style asymmetry.
I liked having space between images, almost like a digital gallery wall. You don’t have to get the spacing perfect (though Canva helps with spacing guides). Just trust your eye, and tweak until it feels right.
Tip: Anchor the board with larger hero images that set the tone, and sprinkle in textures, materials, or details (like a rattan lamp or linen curtain) to bring depth.
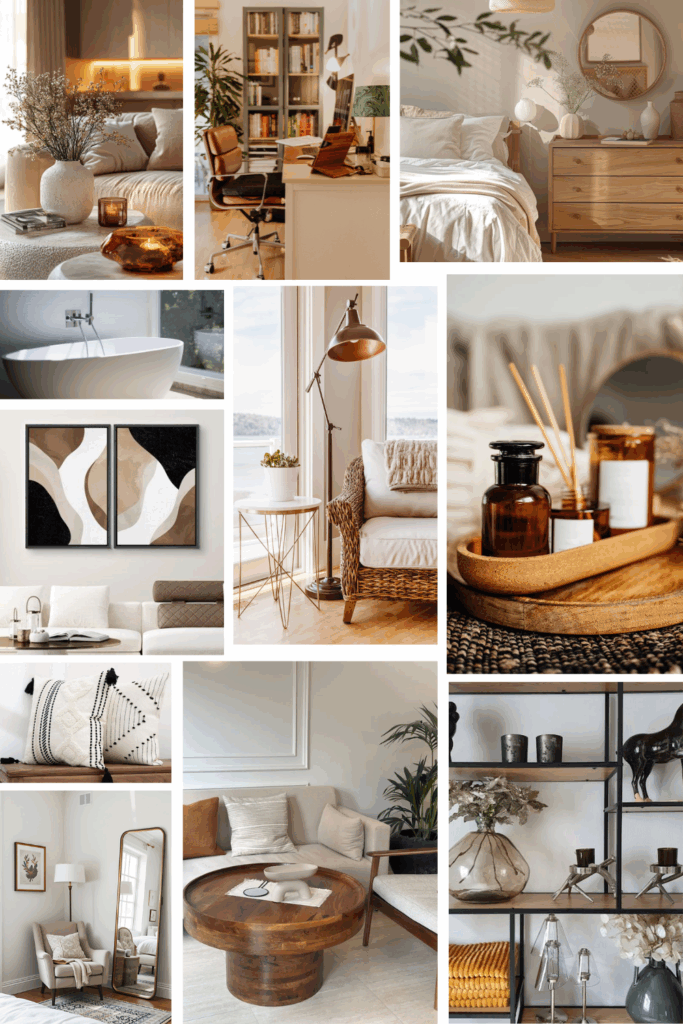
And there you have it…
your own interior designer-worthy mood board.
Creating this was honestly so much fun and so eye-opening. I now have a clear direction for my apartment, and I didn’t have to spend a dime (yet). And the best part? You can keep refining your board over time as your style evolves.
Let your board guide your design choices, from paint colors to furniture to that perfect little accent piece you didn’t know you needed.
Got questions? Drop them in the comments; I’m always down to help. Until next time, happy moodboarding!